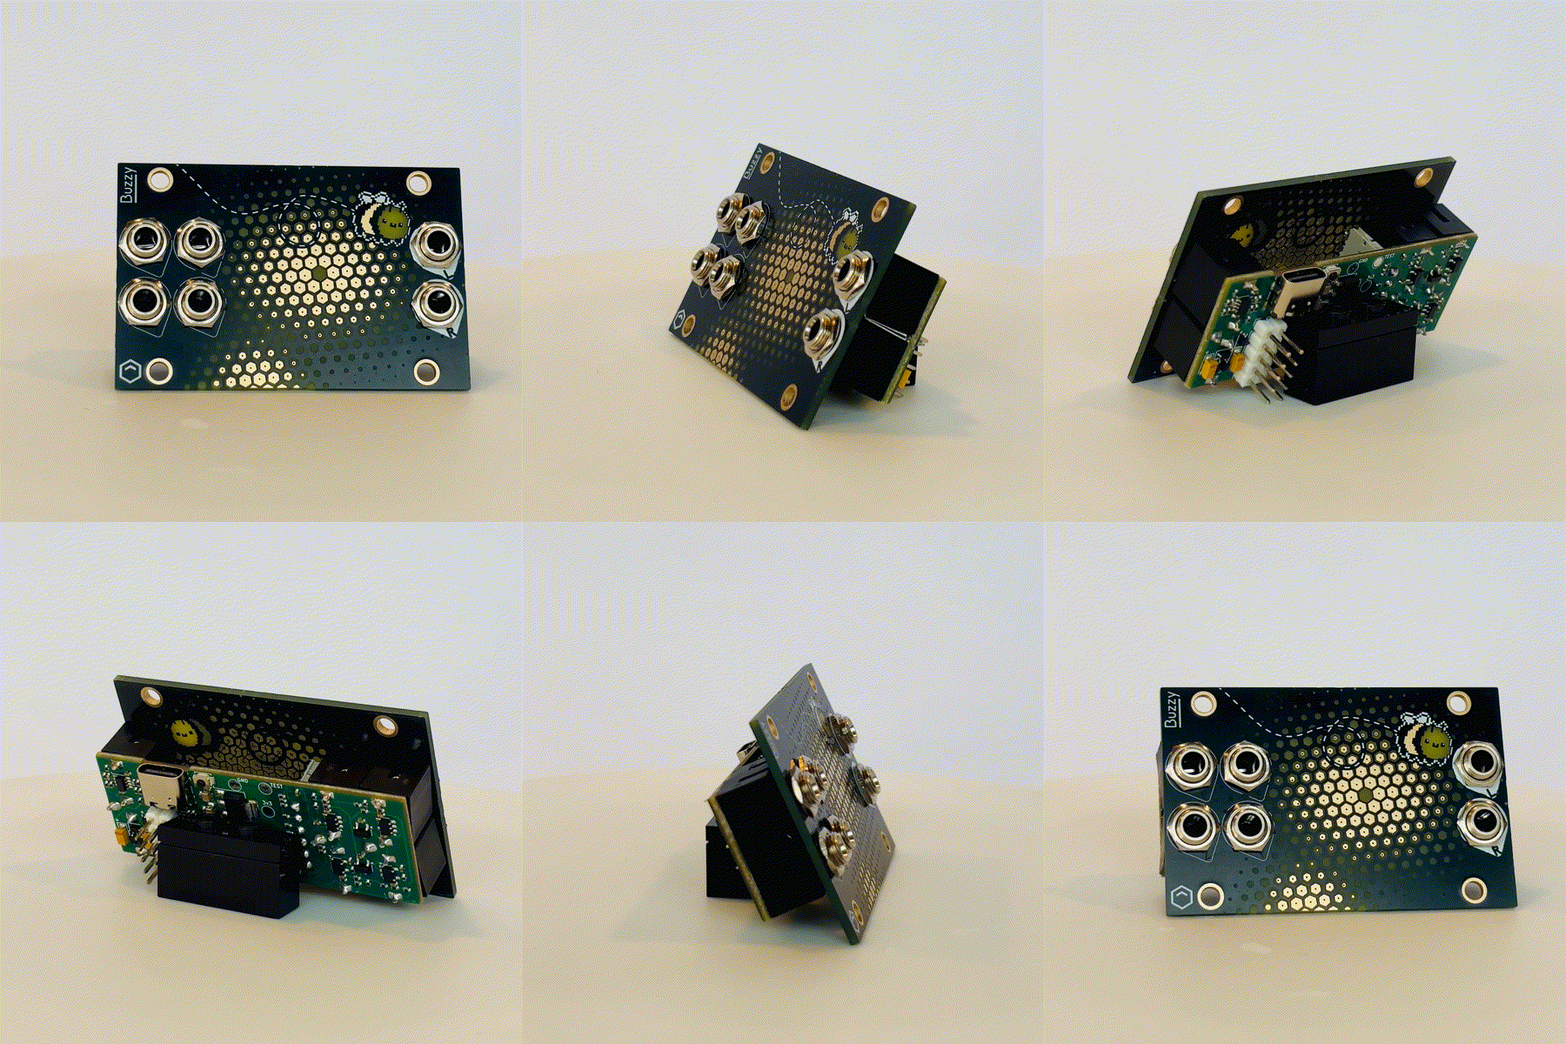
Meet Buzzrito, a large bee presiding over 16 sawtooth oscillators, a sub oscillator, and a peaky comb-filter, all in just 12HP 1U.

If you're looking for the build guide, go here.
The latest firmware is available to download at the bottom of this page.
Overview
Buzzrito is the second collaboration between Alex Evans – creator of Plinky! – and Ray Yokell aka CrazyEmperor893 of The crey emporium. It pairs really well with Bib (fx) and Blueberry (sequencer) but easily integrates into any eurorack setup that can provide gate and pitch (V/Oct).
Buzzy is a very simple module to use: Pitch and Gate go into the left-most jacks, and glorious, wide stereo, plinky-like buzzing comes out of the right-most jacks. The main surface is a large 2D (XY) touch plate, with 7 presets scattered across its surface. Touching at a particular point changes the sound immediately, while dragging your finger records a looping automation following your finger movement, animating the sound. The remaining two jacks, X and Y, allow voltage control over this 2D morphing between presets. From simple triangle-tones in the bottom left, to rasping comb filtered super-saws at top right, Buzzy is a characterful oscillator in a small package.
Specs
- Synthesis:
- 16 Sawtooth oscillators
- 1 Triangle sub-oscillator
- 1 comb filter
- Current draw:
- 100mA +12V
- 5mA -12V
- 5V not required
- Size:
- 12HP 1U (Intellijel format)
- 27mm (including power)
One page cheat sheet
Patch editor
Buzzrito presents as an XY pad that allows you to morph between 7 sounds across the 2D surface. But what if you want to edit those sounds? You are in the right place! Simply connect Buzzy to your PC/Mac's browser via a usb-C cable, and assuming your browser supports WebUSB (you can check here) you can use the UI below to edit the presets live. After you've finished editing, wait at least 5 seconds before powering down your buzzrito (so that it can save your changes to its flash storage).
(note - if this editor is annoyingly small in your browser, click here to open in its own page)
Here's a demo of the above editor, if you're not sure what I am talking about:
Firmware
First, download the latest firmware in this file: buzzrito_001.uf2. Use a USB-C cable (not included) to plug your computer into Buzzrito. You do not need Buzzrito to be powered from eurorack for this step.
Buzzrito should show up as a USB drive called RPI-RP2 (on mac, you may find it under /Volumes/RPI-RP2). If it does not, try disconnecting the USB cable, holding down the tiny button on the digital board, just opposite to the USB connector (hilighted below), while reconnecting the cable - then release the button. If it still doesn't show up, make sure your cable has data lines (and isn't just for charging).
Drag and drop or otherwise copy the downloaded file onto the RPI-RP2 folder, and after a second Buzzrito should reboot, flashing some LEDs. You're ready to buzz!
Patch notes & versions
v1 - End October 2024 - 'Thonk edition'
Download here: buzzrito_001.uf2
- Initial release.

