Hello! Welcome to the 3U Bib / Buzzerito / Blueberry build guide.
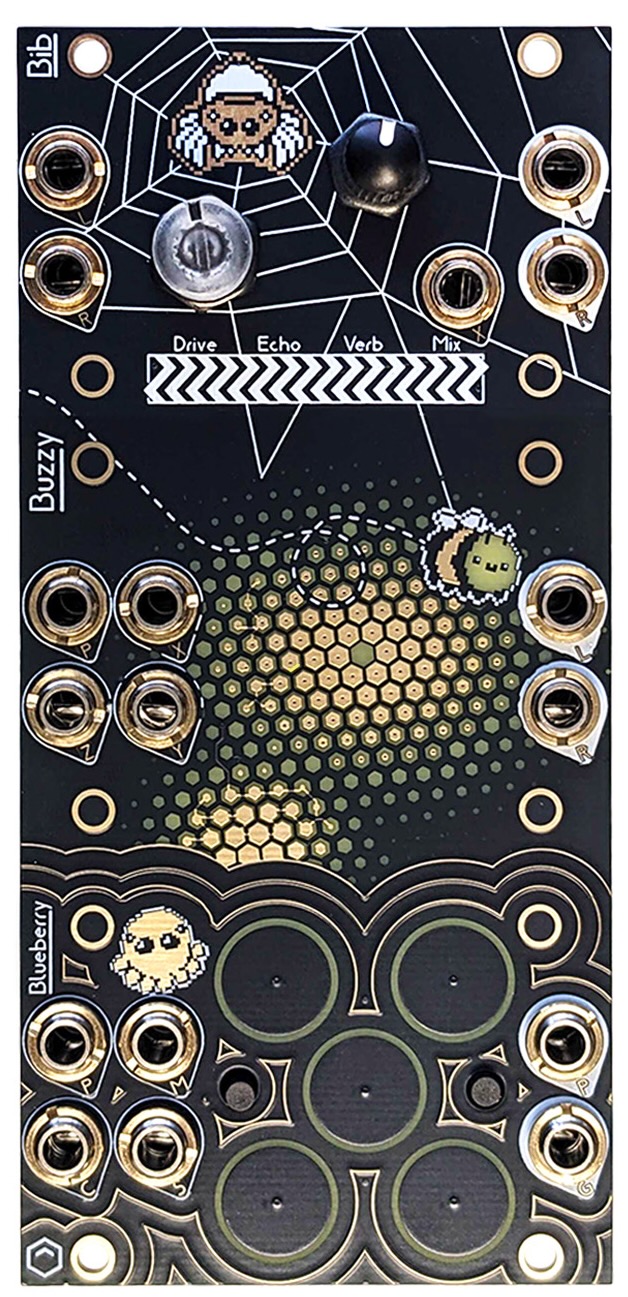
This is for those of you who have bought all 3 of the 1U buddies, along with the 3U face plate. This plate allows you to mount the 3 1u modules in a single, regular 3U 12HP eurorack case, without the need for any 1U rails.

READ THIS BIT PLEASE
TLDR if using the 3U panel, you must take extra care to solder the sockets SUPER straight, on both the 3U and 1U front panels.
The build guide for each of the 1U modules, asks you to first place & solder the sockets, and then later solder the corresponding pins on the main board. This allows the pins to line up with however you soldered the socket. All good! But, you only get to do that one time. You can do so with the 1U panel, or the 3U panel - but once you have soldered the pins on each of the main boards, their 'angle' is set by the wonkiness of the corresponding front panel headers, on whatever front panel you used to line it all up. Soldered the 1U wonky? you'll have to do the same on the 3U panel!
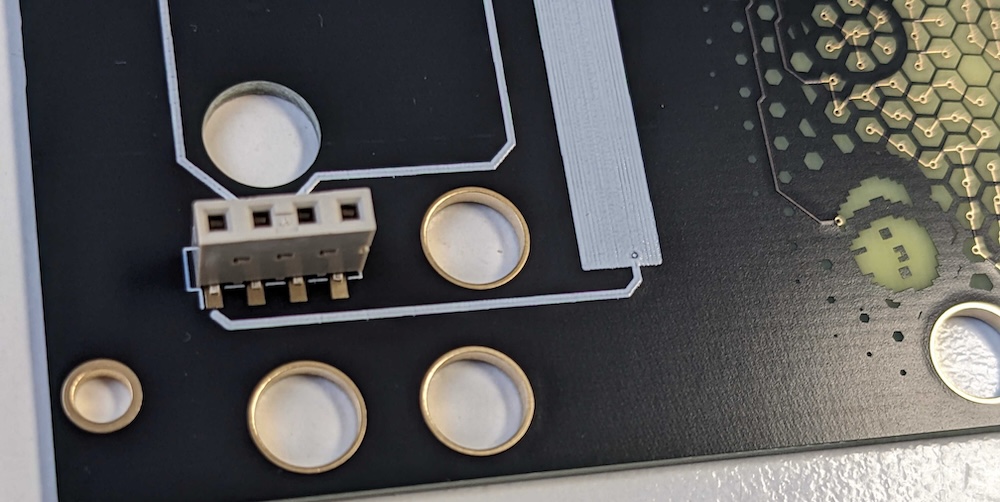
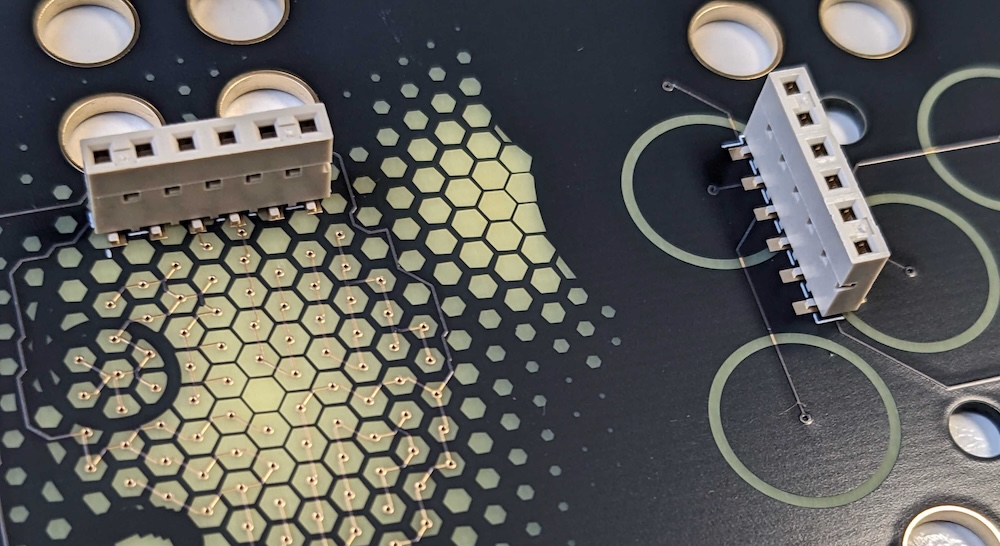
What? You ask. What I'm saying is, if you solder a wonky 1U front panel, you'll have to recreate the exact same wonkiness when you come to solder the 3U panel! Or vice versa. The best plan is simply to make sure they are extremely straight, ie no wonkiness. If you don't, when you swap your modules between 1U and 3U, you'll find that there'll be pressure placed on the sockets that might rip them off, rendering your front panel useless. Don't be that person.
Will from thonk took these beautiful photographs. Look how lovingly he lined them all up. Be Will. Align those little suckers. You'll thank yourself later. 
OK you can build them now
If you haven't built them already, you can follow the instructions for each of the 3 individual modules. Wherever each build guide refers to a front panel, simply use the 3U front panel in place of the small 1U one (or do both). Everything else is the same - but you MUST solder the headers ABSOLUTELY straight. The build guides are: Bib, Buzzrito and Blueberry.
A recap of how to solder the headers
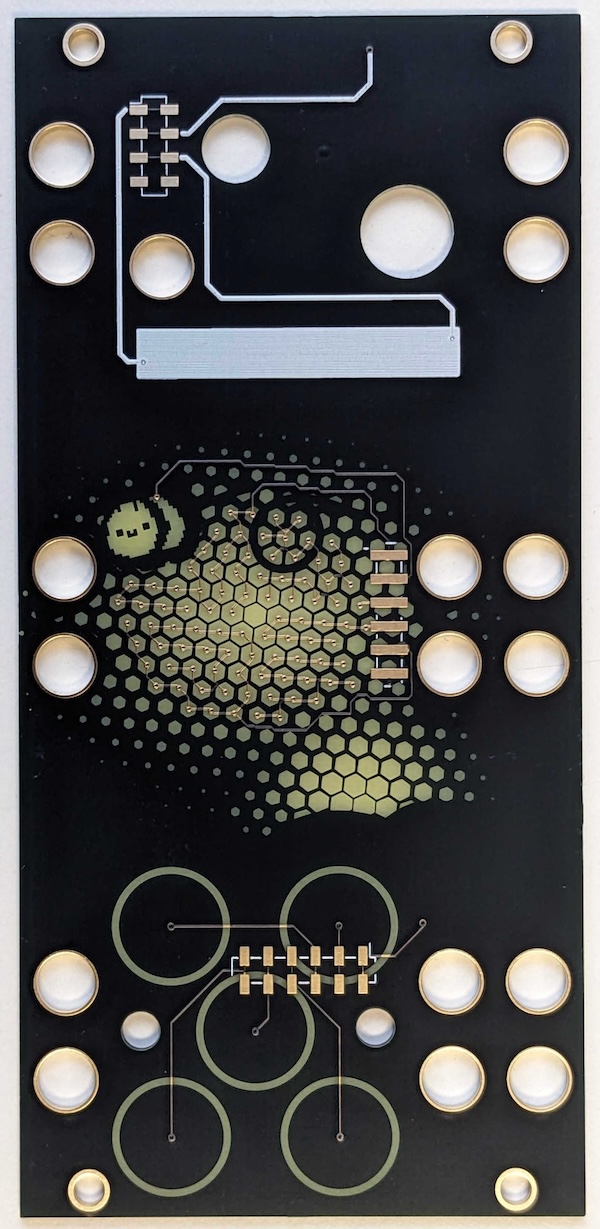
If you really don't want to click through to the build guides (Bib, Buzzrito and Blueberry), the method for soldering the headers is first to place a small pillow of solder on a single pin. Again - just a single pin each for now! 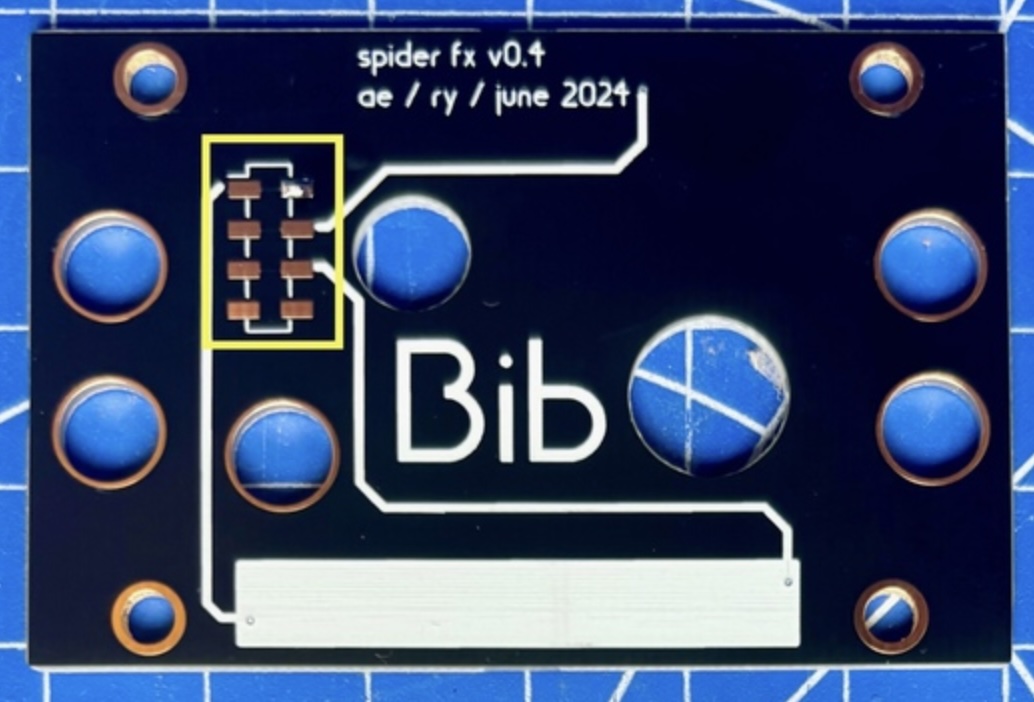
now line up the socket (super aligned! for all the reasons above) and use your iron to heat up the pillow and solder that first pin. It's worth getting the socket nice and straight, centered, and upright while only 1 pin is soldered.
Don't bend it! just touch your iron to re-heat it and gently move the socket into place while the solder is melted. Once you're happy, it should look like this (for each of the 3 sockets):
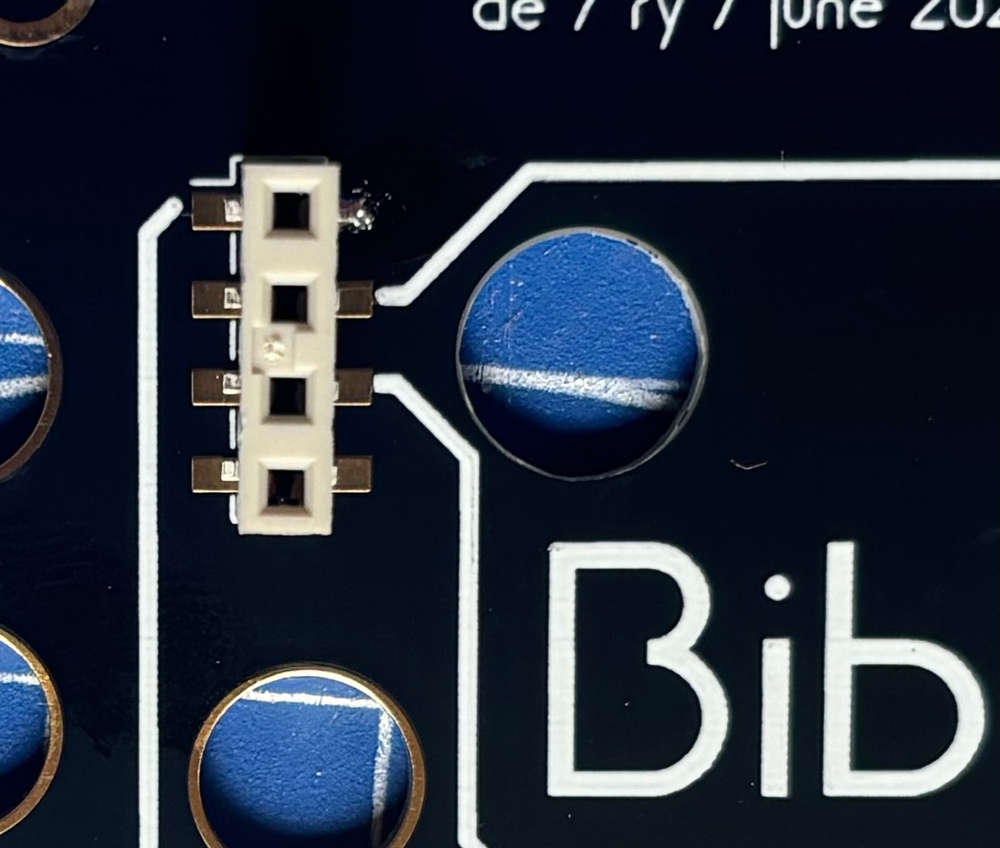
Now solder the remaining pins on the connectors. Do this for all 3 connectors on the 3U panel.... and you're done!
Be gentle when fitting the 3U panel to your mainboards
Remember, the pins from each mainboard and the front panel sockets you just soldered are meant to 'meet' perfectly without placing undue stress on either. Be gentle as you bring the two halves together, and check that you are not forcing the pins outside the socket. Adjust your soldering if they do not line up.
That's all! And a demo
If you want, go and read the manuals: Bib, Buzzrito, and Blueberry. Despite being mounted in a single panel, the 3 are electrically completely separate, so you'll need to plug in 3 eurorack power connectors around the back, and patch the stereo audio signal (if you wish) from one buddy to the next. You can see a good default setup in this feature walkthrough of the entire trio:
