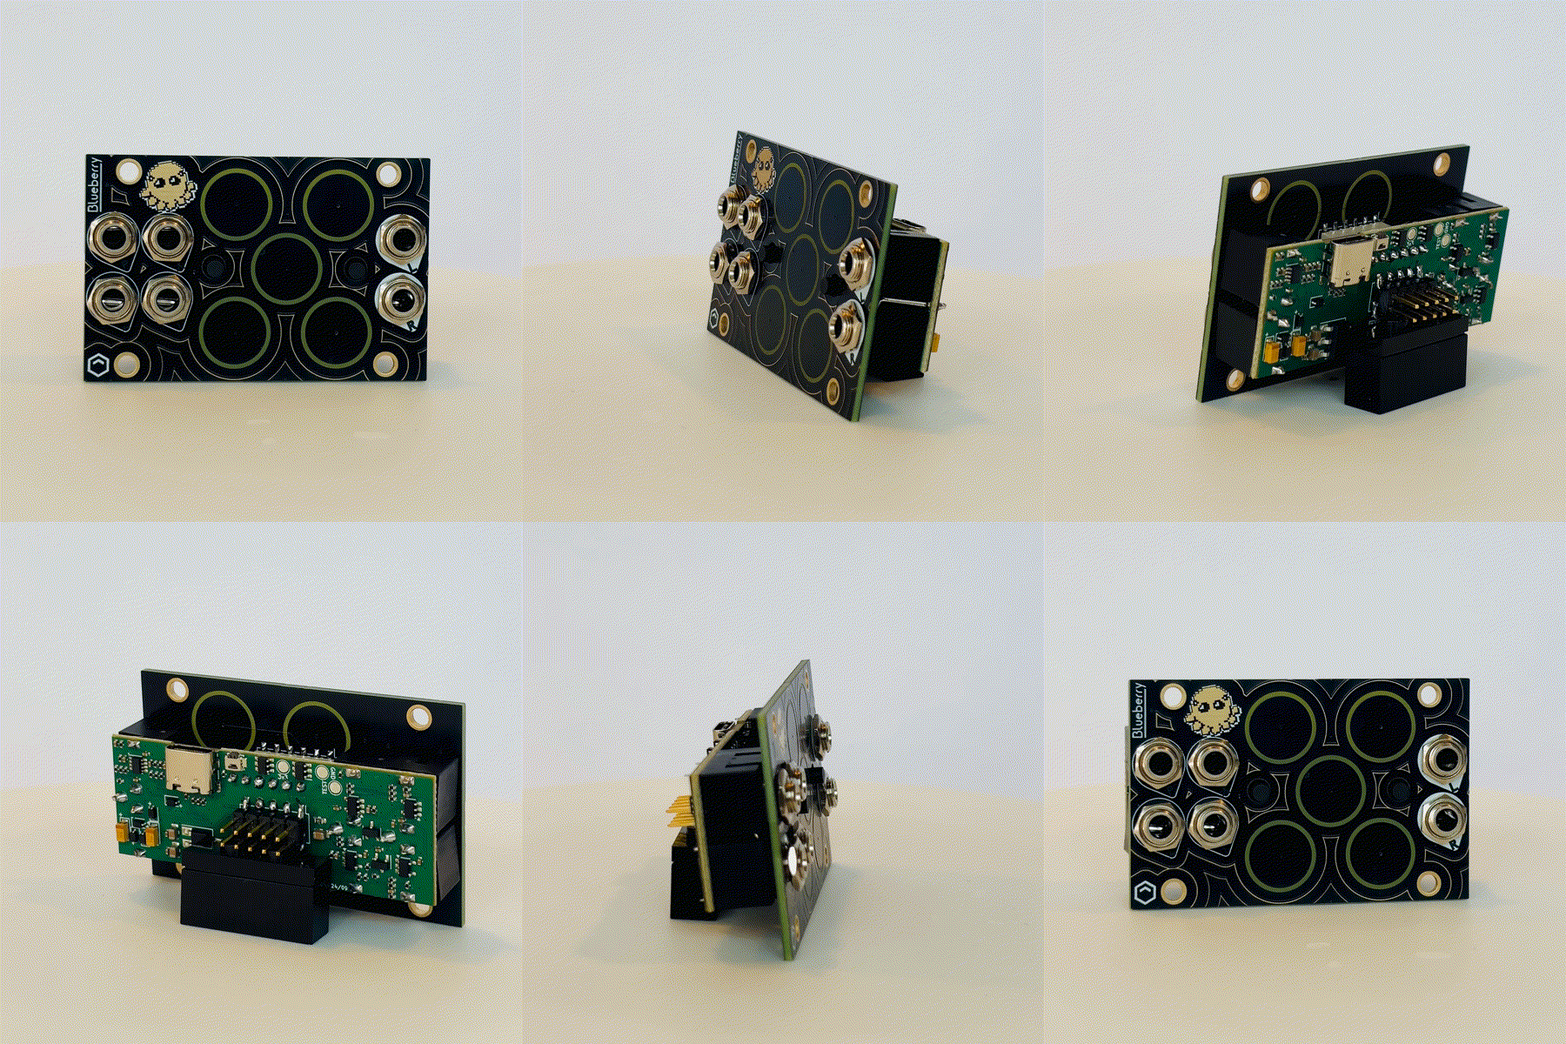
Meet Blueberry, a small octopus who loves to sequence. Her 5 pressure sensitive touch pads can be tuned to any scale, then played to your hearts content.

If you're looking for the build guide, go here.
The latest firmware is available to download at the bottom of this page.
Overview
Blueberry is the third collaboration between Alex Evans – creator of Plinky! – and Ray Yokell aka CrazyEmperor893 of The crey emporium. It pairs really well with Bib (fx) and Buzzrito (oscillator) but easily integrates into any eurorack setup by providing a gate and pitch (V/Oct) output in response to touch.
Blueberry is a very simple module to use: Just hook up her Pitch and Gate outputs to an oscillator (such as Buzzrito), then jam on the 5 pads with your fingers. The pitch of each pad can be adjusted to taste, up to 5 long patterns can be recorded (and played back), and CV control is provided to transpose, clock, scrub and select which pattern is played. When clocked, blueberry becomes an unconventional step sequencer, where each note retains its original pressure articulation, but the melody only progresses at each clock trigger. By feeding voltages into the 'scrub' input, the play head can be directly manipulated - playing the melody backwards, forwards, even scrambled... but not fried. Each of the 5 memories saves its own tuning alongside the notes, and can be selected by the memory CV input - allowing chord selection, for example.
Calibration
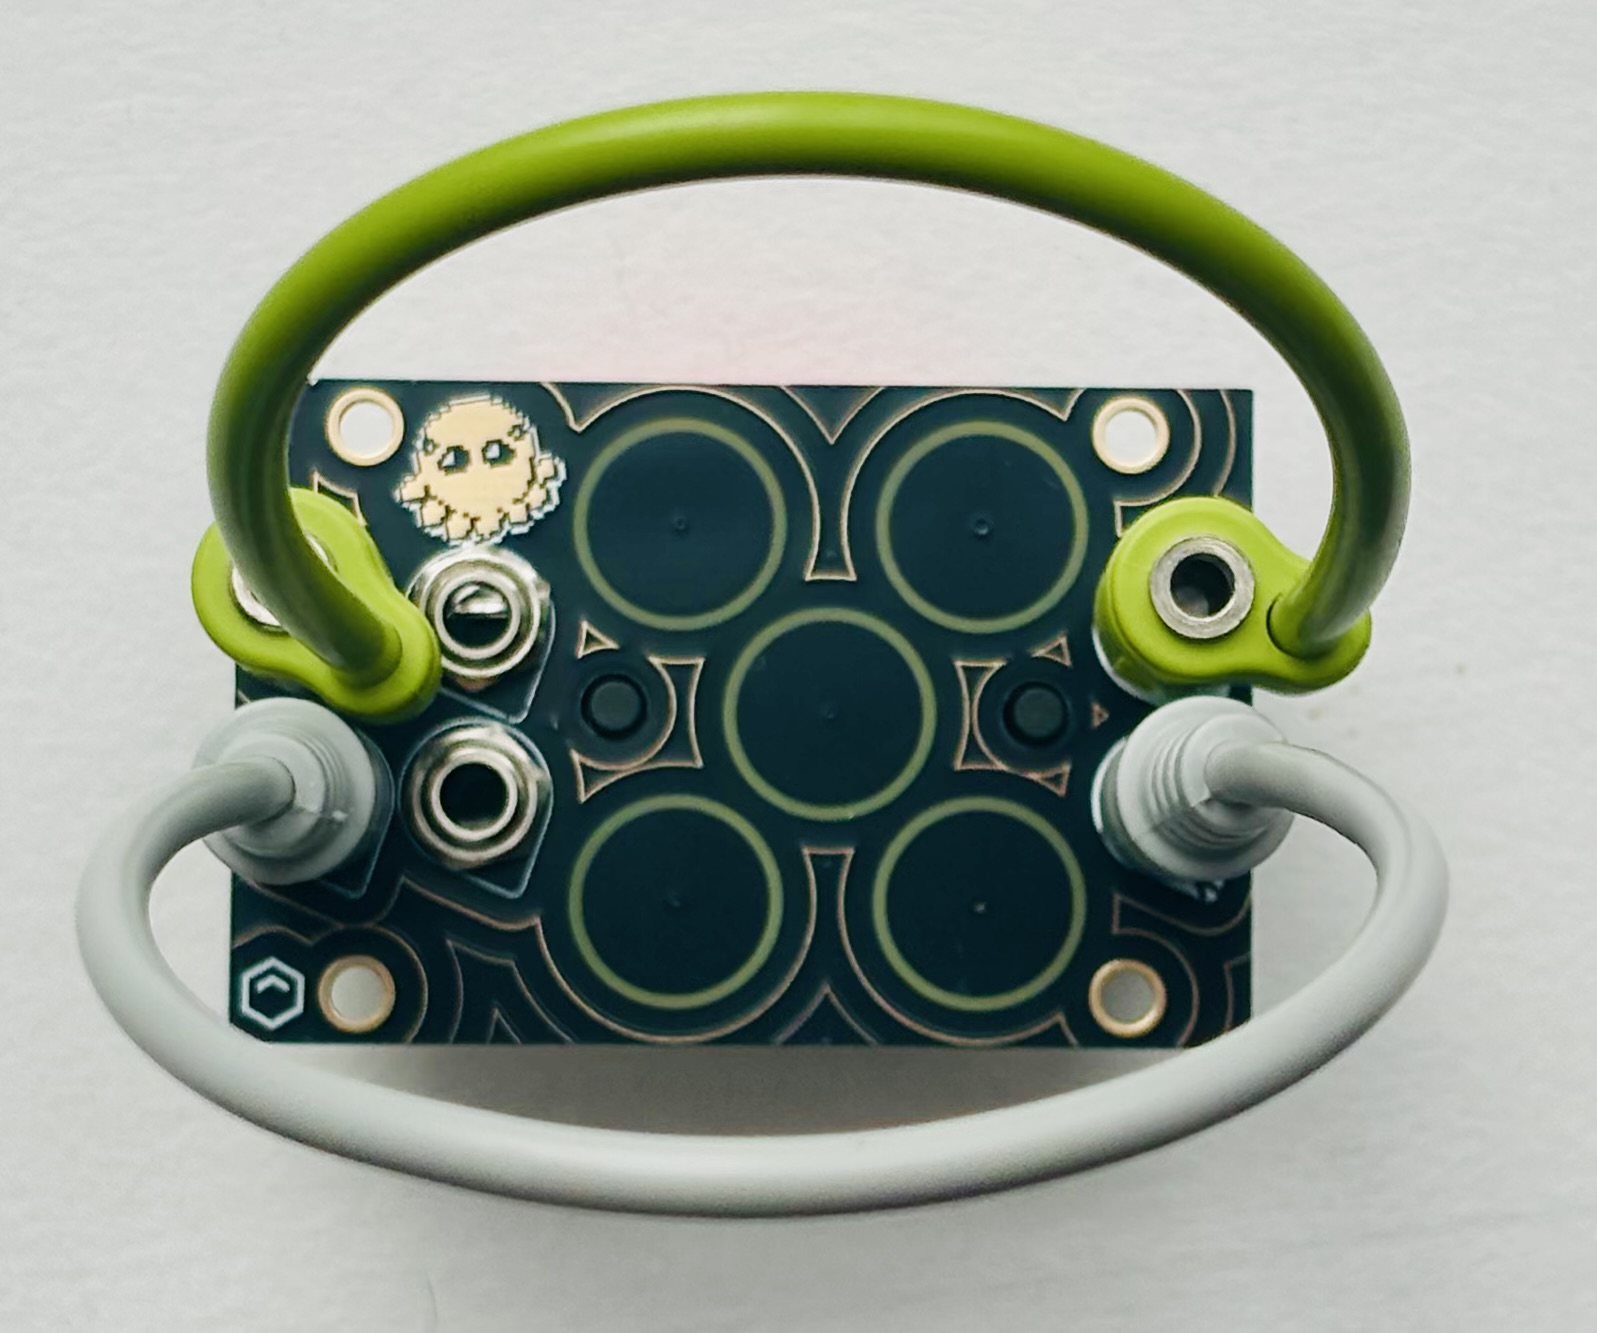
Blueberry calibrates its INPUTS automatically whenever there is no jack plugged in. However, you need to calibrate Blueberry's outputs at least once, especially if you have changed power supply. Power down your eurorack system, and connect a patch cable from the pitch in (top left) to pitch out (top right), and a second cable from clock in (bottom left) to gate out (bottom right), as shown in the picture. When you power up your eurorack system, blueberry will glow teal, then start flashing yellow. Completely unplug the patch cables, wait a moment, and Blueberry is calibrated! Continue making lovely music as usual.

Specs
- Current draw:
- 100mA +12V
- 5mA -12V
- 5V not required
- Size:
- 12HP 1U (Intellijel format)
- 27mm (including power)
One page cheat sheet
Firmware
First, download the latest firmware in this file: blueberry_001.uf2. Use a USB-C cable (not included) to plug your computer into Blueberry. You do not need Blueberry to be powered from eurorack for this step.
Blueberry should show up as a USB drive called RPI-RP2 (on mac, you may find it under /Volumes/RPI-RP2). If it does not, try disconnecting the USB cable, holding down the tiny button on the digital board, just opposite to the USB connector (hilighted below), while reconnecting the cable - then release the button. If it still doesn't show up, make sure your cable has data lines (and isn't just for charging).
Drag and drop or otherwise copy the downloaded file onto the RPI-RP2 folder, and after a second Blueberry should reboot, flashing some LEDs. You're ready to sequence!
Patch notes & versions
v1 - End October 2024 - 'Thonk edition'
Download here: blueberry_001.uf2
- Initial release.

